
Do you Want to know how to clean a mountain bike? Well, here we at BestComforBike.com will give you the complete guide on Mountain Bike Cleaning. If you are worried about how to clean a mountain bike, don’t worry.
In this article, we cover the entire guide on Clean your Mountain Bike. Do you Want to know how to clean a mountain bike? Bike maintenance may not be the usual exciting part of mountain biking, but understanding how to clean your mountain bike accurately after a muddy ride is a complete essential.
To Clean, your mountain bike can not only keep your gear riding softer for more lasting, but it can also save you a lot of money in the process, and it intends you can give a few hours looking longingly into that polished frame of yours each night before moving to the be.
You have bought your first mountain bike, got the equipment and know-how to dress for mountain biking, navigated the mountain bike wheel size debate and got it dirty. Now it is time to see how to clean it.
Table of Contents
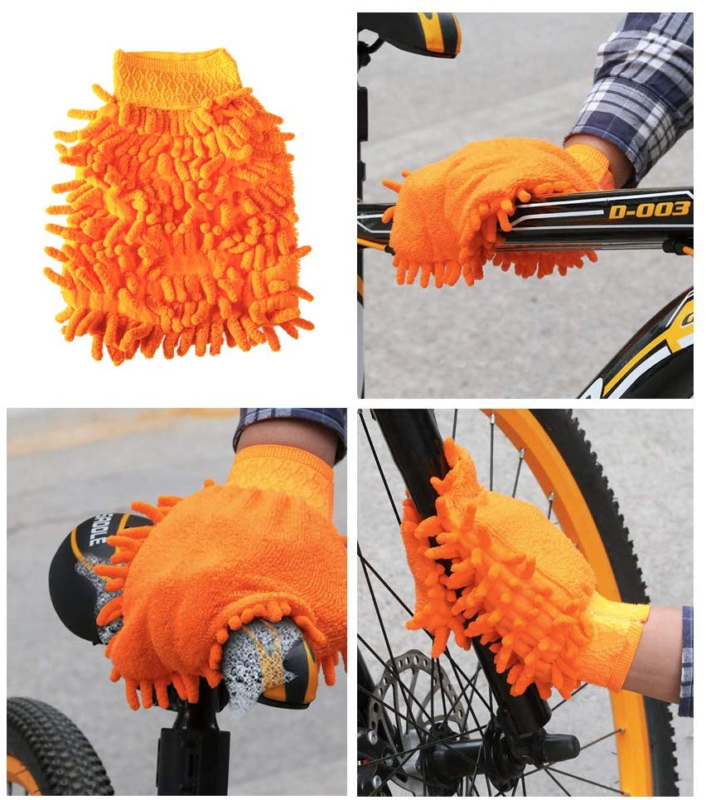
The things you need to Clean a Mountain bike
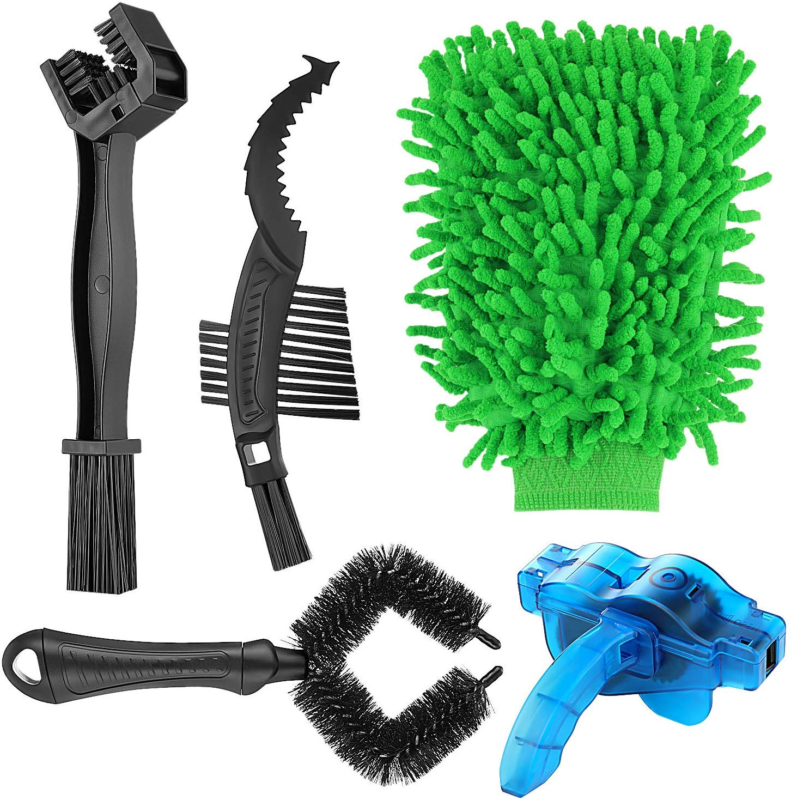
Not all of these bike associates are necessary, but the many cleaning products you have got, the more ready you will be for any eventuality when it comes to bike washing after a sloppy ride!
- A dirty mountain bike
- A bike stand
- A big brush for the bike frame
- A smaller brush for the components
- A hose and/or a bucket of water and sponge
- Bike cleaner spray
- A cloth
- Bike lube
- Bike polish spray
- Disc brake cleaner spray
Editor’s Recommendations =>
- How to Patch a Mountain Bike?
- How to Clean a Mountain Bike?
- What is Pit Bike?
- Pit Bike vs. Dirt Bike
- What is a BMX Bike?
Washing the Mountain Bike
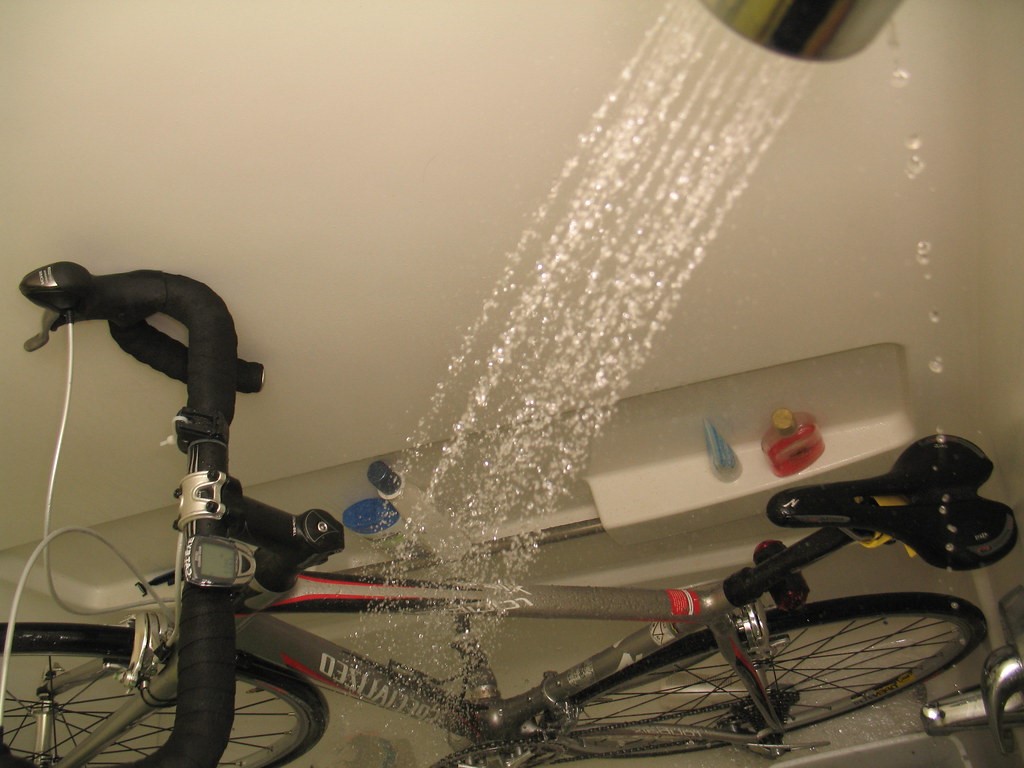
First, find a spot to wash your bike, ideally with a bike stand and the hose nearby – seldom bike wheels can come in helpful here. This may be on hand at the entry or exit to your social trail center, or if not, your town bike shop should grant you clean your bike for free.
Now Hose off all the excess dirt and mud but do not stand too close to your bike with a forceful hose or you could break the parts. If you do not have a hose then a bucket and sponge will do nicely, they will just need a bit more grafting and even with the hose, it is good to run over the support with water, a sponge and some bike cleanser afterward. Make sure you put the bike cleaner aside from your disc brakes though or you could end up breaking them!
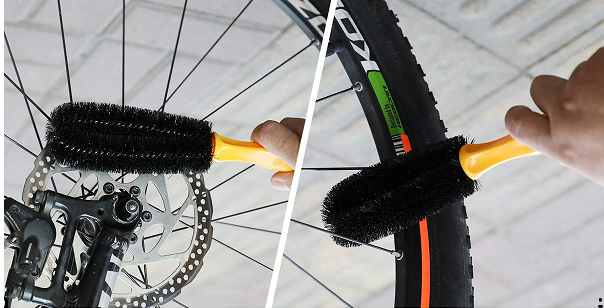
It is also worth memorizing if the mud or dirt is previously dried when you begin washing your mountain bike, you need to wet again to get it off. Your tires should be accurate with just a sharp hose and a brush.
Take the Brushes Out
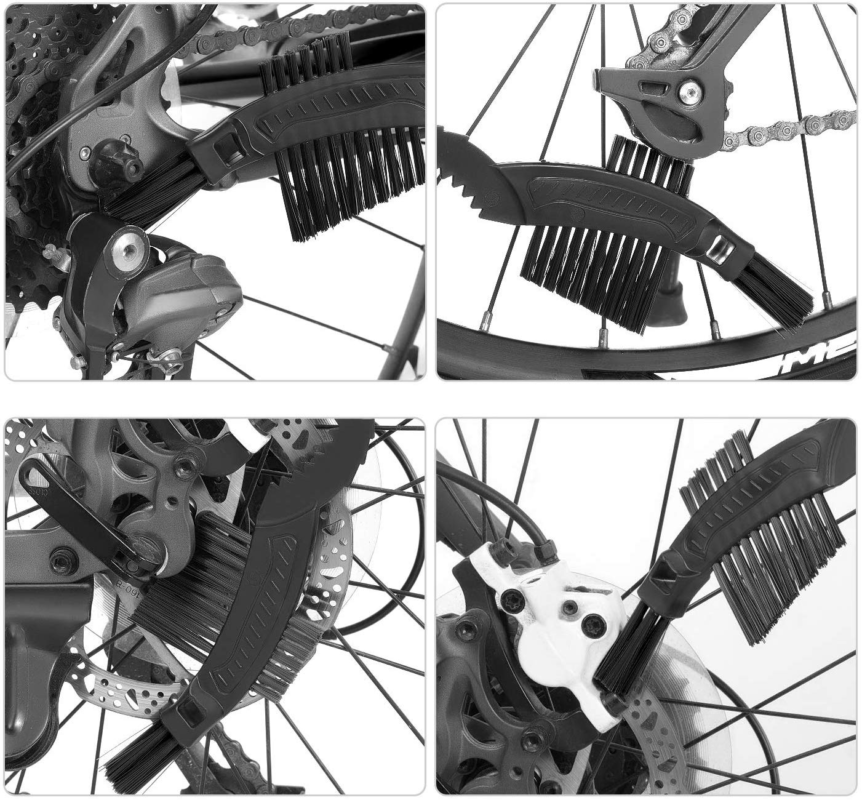
Once you have hosed all the basics, it is time to take the brushes out. It is a great idea to brush and clean from the head of your bike below so that you won’t be allowing dirt drop onto parts of your bike that you have already washed.
Now Use a big brush for the frame to wipe away any leftover dust, and next use a tinier, more delicate brush to get in those shorter spots in the suspension and drivetrain – a word used to represent all of the components that allowed you pedal the bike forwards; the chain, chainrings, cassette, derailleur, cranks, and pedals – without harming them.
Clean Up Your Drivetrain and Suspension
The chain and drivetrain of your bike, in general, have to be cleaned individually well. Bike cleaner is reliable here for making through the grease and oil that can form up around the area. Make sure when washing that you can see both sides of the chainrings and clean the cassette as well.
You should wash your suspension just as well – but repeatedly, do not spray any bike cleaner on your brakes or they could wear away.
Rinse
The easiest phase of Mountain bike maintenance process, rinse the bike off with some more water to finish the first washing phase of the process!
Dry Off the Bike
The Next step is to dry your bike off with a cloth, giving special attention to get the drivetrain, elements, and suspension perfectly dry.
Lubricate the Suspension
The section that you have been waiting for. Take out that bike lube and get exciting about your ride. Get the bike off the stand and lube up your head suspension, making sure that you do not make any of the lube trickles down to the brakes.
Now Pump the suspension sometimes once you have completed and you can see an extraordinary piece of grit develop which you should clean. Next, do the similarly for your rear shock absorber and dry all clear excess lube well with a cloth. Remaining lube means your bike will be more likely to pull dirt next time nearby.
Lubricate and Oil Up the Drivetrain
Now it’s time to do similarly for the drivetrain. First, backpedal the bike several times to be assured that all the water is gone. Add the lube to the chain while you proceed to move the chain back. Did we suggest you should avoid the disc brakes when you are performing all of this? AVOID THE DISC BRAKES WHEN YOU ARE DOING ALL OF THIS.
Afterward, take a cloth and backpedal the chain ended it again to be assured that there is no excess lube on there, for the same reasons as earlier stated.
Now add some oil to all derailleur axis points to end off, something that should be made every few months at least. And remember to Stay Away from the Disc Brakes. If you get the lube on the disc brakes, you will need to go out and use some money to get them fixed.
The Disc Brakes
Thus, we have been yelling at you a lot during this article to keep all cleaning products aside from your disc brakes. And we hold by that. Thus, how accurately should you clean your brakes?
In general, they should be alright with just a little water and a reliable dry, but if you have made some disc brake cleaner, that is even better. Spray the material on, using evenly over all sections, and then dry with the cloth later.
How to Clean a Mountain Bike – The Last step
When it is all washed, dried, cleaned and lubed up, you are ready to go! Although, you can continuously spray amazing bike polish on the frame if you want your ride seeming unusually flash.
Momentarily, we identify there are nine steps in this guide, but this method should not take too long – especially once you have performed it a couple of times. Never spend so long washing your bike that you will be worried about getting it dirty again. A clean bike is excellent at home but on the tracks? A muddy ride is a nice one!


