
Eliminating stuck bike pedals can be a torment, so figure out How To Change Bike Pedals like a supervisor with our six-stage guide
You’d think taking your pedals off would be basic. However, those utilizing the quite often unerring announcement ‘lefty-loosey, righty-tightly, will wind up in a difficult situation.
This is on the grounds that the strings on each wrench turn in inverse bearings. The justification behind this is that assuming they turned the same way the energy of your turning legs could act to gradually unscrew the pedal on the left-hand wrench.
To battle this while the right-hand drive-side wrench arm is routinely correct hand strung, the non-drive-side lefthand wrench arm is constantly left-hand or converse strung.
Joyfully, when you know this key truth, following our tips will make eliminating your pedals a breeze. On the off chance that you’re experiencing difficulty, attempt a spurt of infiltrating oil on the rear of the tracks. In any case, stall out in with our aide.
In this bit-by-bit guide, we talk you through the devices you want to change the pedals on your bicycle, including how to recognize your left and right pedals, how to eliminate old pedals, and, obviously, How To Change Bike Pedals.
Table of Contents
You Might Also Like ⇒
- How To Change A Bike Tire
- How To Change The Inner Tube On A Bicycle
- Rowing Machine Vs Treadmill
- Best Exercise Machines To Lose Weight
- Best Aerobic Stepper
- Best Exercise Ball Chair
- Best Home Gym Equipment
- Best Fitness Bikes
- Does Biking Work Abs
- Exercise Pedals For Elderly
- Best Dual Action Exercise Bike
- Best Exercise Bike Under 300
- Best Exercise Bike Under 500
- Best Folding Exercise Bike
- Cycling Machine For Exercise
- Best Upright Exercise Bike
How To Change Bike Pedals – Replacing Bike Pedals
Hardware You Will Need |How To Change Bike Pedals of 2022?
Prior to beginning, how about we look at the gear and embellishments we should play out this errand.
1. Pedal wrench. Utilizing a 15mm spanner is likewise conceivable.
2. 6mm or 8mm Allen wrench (otherwise called a hex key)
3. Lithium oil in glue structure (generally accessible in tubs or press tubes)
4. Paper towel to wipe abundance of oil and soil (then again, use material clothes assuming that you’re naturally cognizant)
Left Versus Right Pedals Made Sense – What Are The Distinctions?
Left and right pedals have various strings, and guaranteeing you are fitting the right pedal to each side of your bicycle is critical.
Before we go on, for the evasion of uncertainty:
The right-hand side or drive side of the bicycle is the side with the cogwheels on it.
The left-hand side or non-drive side of the bicycle is the side without the pinion wheels.
Right Pedal Stringing
Right (drive side) pedals are consistently standard-strung.
This implies they fix by turning the shaft clockwise and relax by turning hostile to clockwise. All in all, right to fix, left to release.
Left Pedal Stringing
Left (non-drive side) pedals are generally converse strung. This implies they fix by turning the shaft hostile to clockwise and release by turning clockwise.
To be thoroughly clear, this is something contrary to the drive-side pedal (and basically every other strung part you are probably going to experience on a bicycle or throughout everyday life).
The Most Effective Method To Distinguish Between Left & Right pedals
Fortunately, every pedal will come set apart here and there to show whether it is for the left or right half of your bicycle.
At its generally essential, an L or R will be stepped onto the finish of the shaft. It is likewise once in a while stepped onto the wrench pads of a pedal, or imprinted onto the body of the pedal.
On the off chance that your pedal doesn’t have this, it might rather have a finished region close to the wrench pads to show it is the left pedal.
On the off chance that your pedal doesn’t have this possibility, you can check out intently at the strings of the pedal shaft.
A right pedal is standard-strung and, taking a gander at the strings, they seem to point upwards to one side.
The left pedal is conversely strung and, taking a gander at the strings, they seem to point upwards to one side.
Step By Step Guide: How To Remove Bike Pedals
How To Change Bike Pedals? Eliminating old pedals is in many cases the most troublesome aspect of the gig. As a result of oneself fixing string, releasing them can at first require a touch of real effort – particularly on the off chance that it’s been some time since you eliminated them or on the other hand assuming you have never lubed them.
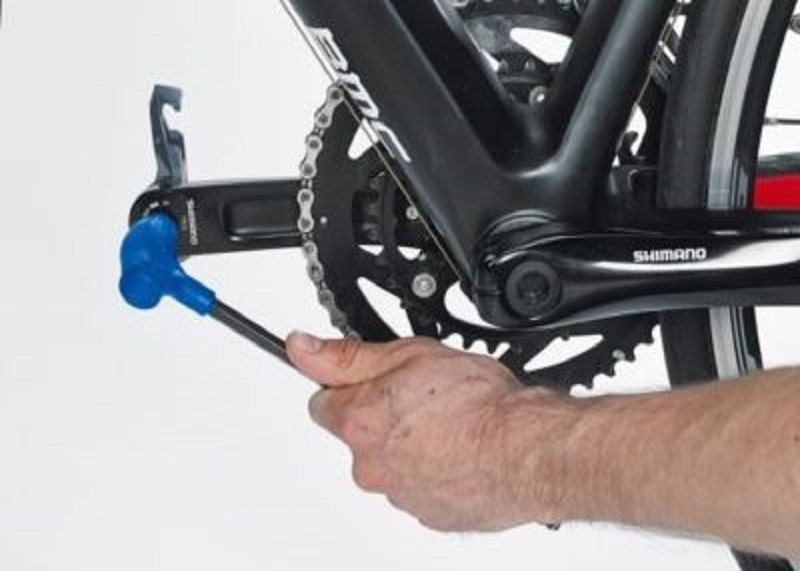
In this photograph, while eliminating the left pedal, you would push the spanner downwards. Utilize a 15mm pedal wrench or the fitting size Allen key for your pedals. While applying force, keep your knuckles clear of the chainring(s). In any case, when your pedals unexpectedly slacken you’ll crush your knuckles against the chainring. Nowhere near great and really agonizing.
The right pedal relaxes in an enemy of clockwise heading, so in this image, turn the spanner in a descending course. To eliminate your left pedal you want to turn the pedal wrench or Allen key clockwise. Your right pedal relaxes in an anticlockwise course.
How To Change Bike Pedals? Not figuring out how to relax your pedals? Shower a little entering oil or WD-40 on your pedal and pass on it to absorb for 15 minutes. On the off chance that your pedals actually won’t come free from that point forward, apply an additional WD-40 and pass on it to absorb for the time being.
1. Assemble the Appropriate Tools
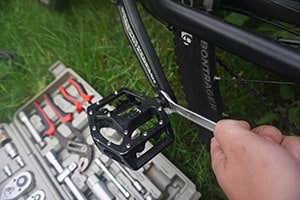
You will require either an Allen key (otherwise called a hex key or Allen wrench) or a pedal wrench to eliminate your pedals, contingent upon your pedals’ expectations. A pedal wrench is a more slender wrench intended to fit in the limited space between the pedal and the wrench arms.
For the Allen key, you most likely need a standard one, not a multitool, on the off chance that you have one convenient. I once attempted to toss on a couple of pedals with a small-scale multitool. I wound up cutting my hand and fixing the pedals. Toward the finish of my hourlong ride, I was essentially ready to eliminate the pedals without a device they had relaxed to such an extent. So suitable instruments are significant.
You’ll likewise maintain that touch of oil should put on your new pedals so they string in without a hitch and don’t seize up.
2. Cleaning And Once Again Greasing-Up
Now that you (ideally) figured out how to unscrew your pedals, you can clean the screw string on the wrenches. For this, you can simply utilize an old, dry material. You can likewise apply some degreaser. Returning similar pedals on? Then, at that point, you ought to likewise clean the actual pedals, really focusing on their screw strings.
Guarantee that all the old, filthy oil is totally gone. Then, at that point, smear the screw strings of the pedals with get-together oil or Loctite. Apply a little to within the screw strings on the wrench arms as well.
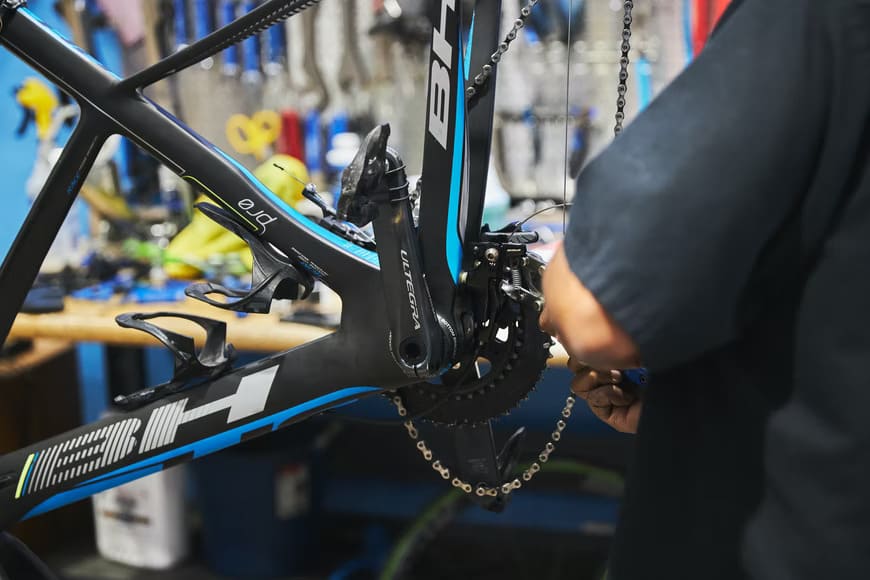
3. Prepared The Bike
In the event that you have a stand, you can put the bicycle on the stand. In any case, rest it up against a wall or a wall. Pedals are simpler to change when the bicycle is upstanding, so don’t bother flipping it over.
In the event that you have numerous cog wheels front and center, change to the most elevated gear or the biggest chainring. This can assist with safeguarding your knuckles assuming you slip while chipping away at your pedals.
4. Eliminate The Pedals
The right-hand pedal, or the drive-side pedal (the side with the chain), will slacken counter-clockwise, similar to typical. The left-hand pedal, or the non-drive-side pedal, will slacken clockwise, inverse from typical.
To make things more muddled, assuming you’re utilizing an Allen key, it might appear to be the inverse since you’ll be moving toward the pedal from the contrary side. Ensure you’re pondering it like you’re on the right half of the bicycle for the right pedal and the left half of the bicycle for the left pedal.
Can’t follow along? This is the way I recollect it: You turn the pedal rearward of the bicycle to eliminate the pedal, and toward the front of the bicycle to go ahead to add the pedals. It’s a senseless stunt, yet it works for me.
Subsequent to eliminating the pedals, be ready to find any washers that might have tumbled off. Assuming there are no washers, no problem; a few wrenches need them for security, and others don’t.
5. Set Up The New Pedals
How To Change Bike Pedals? Since the strings are unique, having the right left and right side pedals is vital. Most pedals will have an “L” and an “R” stepped on them someplace. On the off chance that you can’t track down it, hold the pedals up one next to the other. You ought to see the strings bending up this way and that. The right-side pedal’s strings ascend to the right, and the left-side pedal’s strings ascend to the left.
Assuming that you really want washers, slide them onto the new axles. Likewise, take a tad of oil and rub it on the strings of the pedals. The oil will help the pedal go on smoother and keep it from holding on from now on.
5. Introduce The New Pedals
Try to place the pedals in at a 90-degree point so you don’t cross-string them. What’s more, recollect, that the drive-side pedal fixes clockwise toward the front wheel, and the non-drive-side pedal fixes counter-clockwise (close to the front wheel).
You ought to fix them to the maker’s predetermined force, which is ordinarily around one-eighth of a turn after you feel the obstruction.
Similarly likewise with pedal expulsion, while fitting pedals your pedals additionally screw in inverse bearings. The left pedal screws in an enemy of clockwise course. The right pedal fixes in a clockwise heading.
Ensure that you’re fitting the right pedal on the right side. Particularly with MTB pedals, you really want to focus on the bearing of the screw string or the left/right checking on the actual pedal.
Most of the fastening of the pedal will happen normally on the off chance that you just turn the wrench arm (in a retreat movement). Then the pedal will fix itself. Simply the last piece should be given the last turn with the pedal spanner or Allen key. Never over-fix your pedal – a last turn with the spanner is sufficient!
To wrap up, clear off any overabundance gathering oil that might have been pushed out of the wrench arm string. Work done, you have figured out how to change bicycle pedals! You can raise a ruckus around town (or the paths) again with your new pedals.
Tips For Removing Bike Pedals
- How To Change Bike Pedals? You can likewise follow the means recorded previously.
- Take care to keep your knuckles clear of the chainring(s) while slackening pedals
- Are old pedals excessively close? Apply a WD-40 and pass on it to absorb for the time being
- Are pedals actually stuck? Have a go at making your Allen key or pedal wrench arm longer with a metal bar. The more drawn out the Allen key or spanner arm, the less power expected to come by results.
- Never fit your pedals without applying some great gathering oil or Loctite. That way you will not experience difficulty releasing your pedals in the future.
- At regular intervals, eliminate your pedals to clean them a piece. What’s more, obviously, oil them when you refit.
Much of The Time Asked Questions (FAQs)
Q. For What Reason Mightn’t My Pedals At Any Point Be Taken Out?
Put the pedal wrench on your pedal axle confronting in reverse. Push down on the pedal wrench. You can likewise ride the bicycle and push the pedal wrench with your foot. The cycle ought to be against a wall or corner. You ought to feel the brakes start to unwind.
Q. What Bearing Do The Pedals Head?
To unscrew the wrench arms from the pedals, utilize a pedal wrench or a hex key. Turn the wrench arms counterclockwise to relax the right pedals, while the left pedals lessen clockwise. Apply bicycle oil to new pedals, and screw them in at a 90-degree point.
Q. What Different Devices Might I At Any Point Use Instead of A Pedal Wrench?
You needn’t bother with a pedal wrench, so a standard 15 mm open-end wrench is adequate. Then, take a gander at your pedal to guarantee it has a level surface for your wrench to join
CONCLUSION
It’s generally really smart to peruse the directions and watch out for the security signs while utilizing hardware. This is a convenient article for anybody pondering eliminating their bicycle pedals. Have you at any point eliminated them? How was the interaction? Have anything to add to the article? Tell BSXInsight in the remarks underneath!


