
Do you Want to know how to remove a mountain bike tire? Well, here we at BestComforBike.com will give you the complete guide about fix a flat. If you are worried on how to remove a mountain bike tire, don’t worry.
In this article, we cover entire guide on fixing a flat.During the endurance of a mountain bike, you will discover yourself requiring to manage and perhaps fix many parts. If you ride your mountain bike with notable regularity, ultimately one or both of your tires will go flat. There are many methods to fix a flattened tire, but if your tire is damaged inside, you will necessitate replacing the bike’s internal tube undividedly. Discovering how to remove a mountain bike tire will not get up much of your time.
It seems like the easiest job in the world and you are apparently mocking over your porridge as you view this, but it is time to talk about tires – well, more particularly, the basics of how to put one on. Yeah, yeah, seems simple but just imagine if your journey last week: how many riders did you notice breaking out into clammy wetness, being helplessly on the side of the tracks with tire levers in hand, casting pleading sights as you rode by? Correctly. Once you have hit the method you will realize it was never that hard in the first section.
Table of Contents
Essential tools
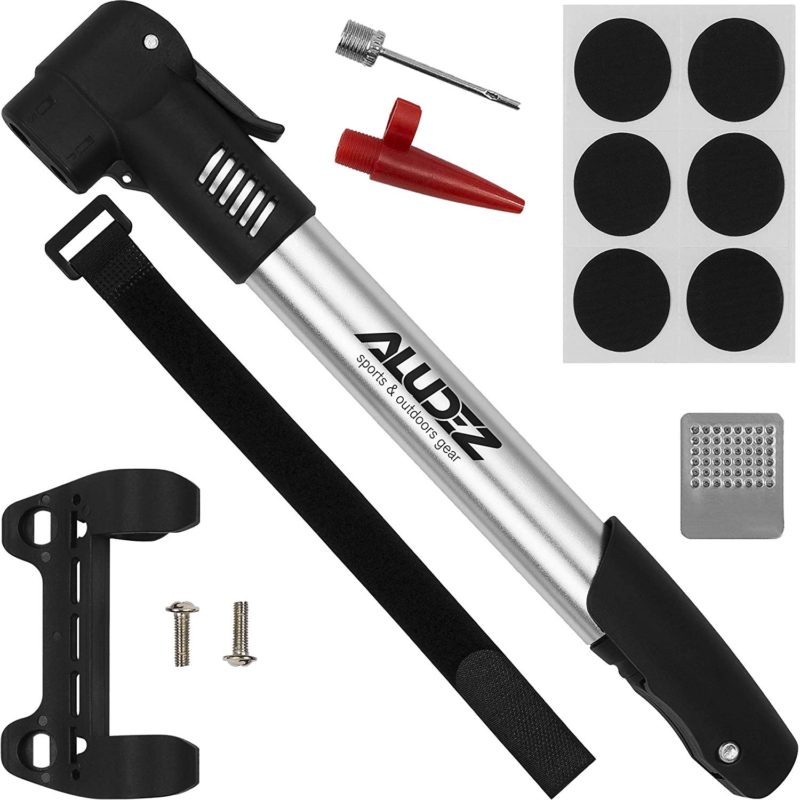
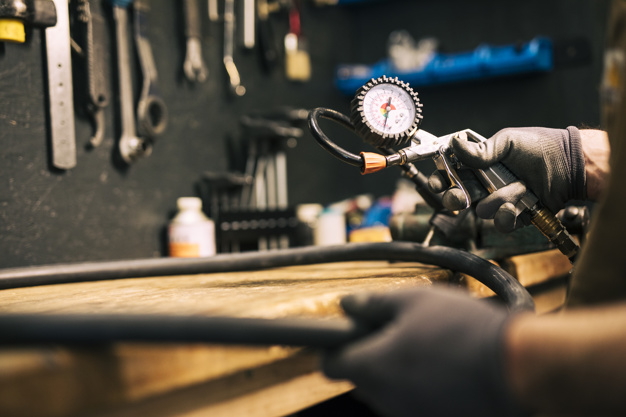
- Pump
- Tube
- tire levers
How to Remove a mountain bike tire in 11 Steps
We are going to tell you how to change your mountain bike tire yourself in 11 easy steps correctly now follow the steps we state below:
1: Transpose the mountain bike over on its back

In different terms, put your mountain bicycle in such a form that the handlebars and seats are on the ground and the two tires are in the sky. The tires should be capable to rotate easily without any obstruction.
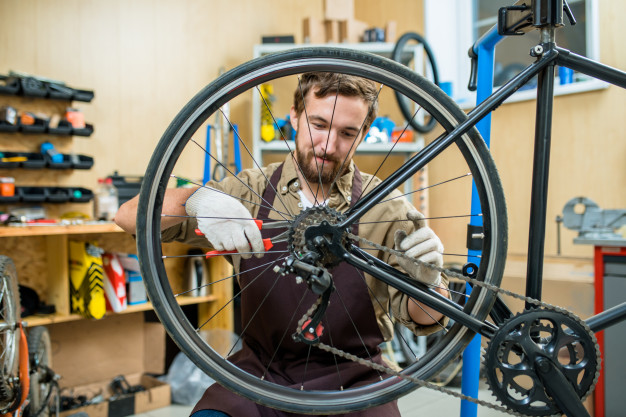
2: Displace the damaged tire from the mountain bike

Your mountain bike tire will be held on the axle via two nuts, one on per side, and these nuts will require to be released and displaced.
It is depending on the make of your mountain bike, you may also have to cancel a quick-release bar on the side of the tire.
Undo brake cable before removing the tire from within the brake pads.
3: Displace the tube from the rim of the wheel
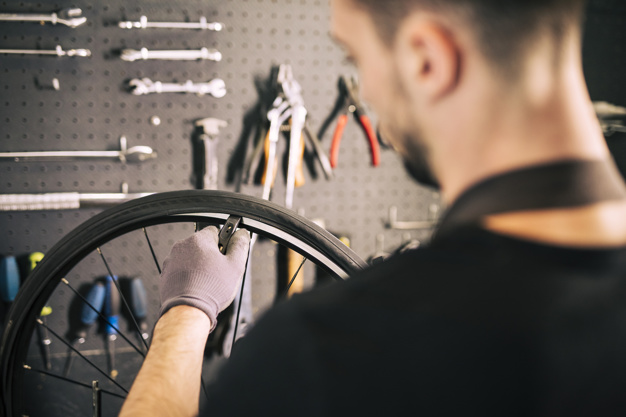
Find the pipe stem for air information and pick a place on the contrary side of the wheel. Utilizing the beveled end of a tire alloy, depart the tire from the wheel rim and close the iron upon a part.
Rehearse by another tire iron around one-inch (2.5 cm) aside from the first tire iron. Continue doing this throughout the wheel until you can completely remove the tube internally.
4: inspect and wipe the core of the tire for debris
View for something that could let future damages or flats. In particular, the thorns, the glass shards, and the alloy shrapnel should be excluded.
5: Find the holes or imperfections in the tube
To locate holes, you can sink the tube underwater and watch for balloons, either you can pump up the tube and hear for any air leaks.
If a hole is discovered on a joint or rim on the tube, the tire patch may not operate properly and the tube will be destroyed. In that state, you will have to buy a brand new replacement tube.
6: Cover the holes by applying the bike tire patch kit
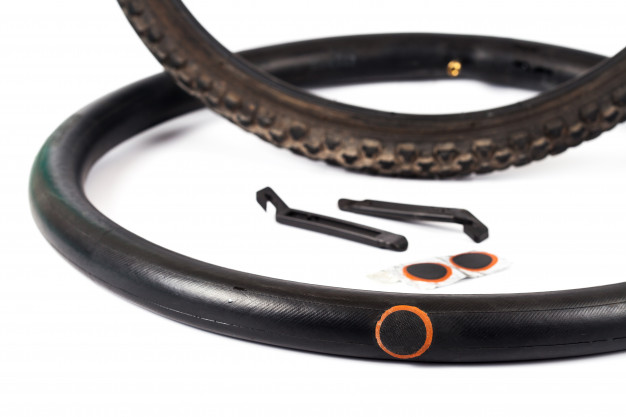
Now roughen the sections of the tube nearby the holes by using the sandpaper. Stamp a glue-less patch to the tube tightly, closing and sealing the hole as firmly as you can.
7: Wait for some time for the patch to tie to the tube

Now, wait for few minutes until the patch is bond to the tube firmly.
8: Analysis to view if the patch has held properly
To see that, pump up the tube lightly and observe if there are either air leaks with the current patch. If there are, you may have to work again and implement a fresh patch, or the tube may be too damaged and you will necessitate buying a brand-new one.
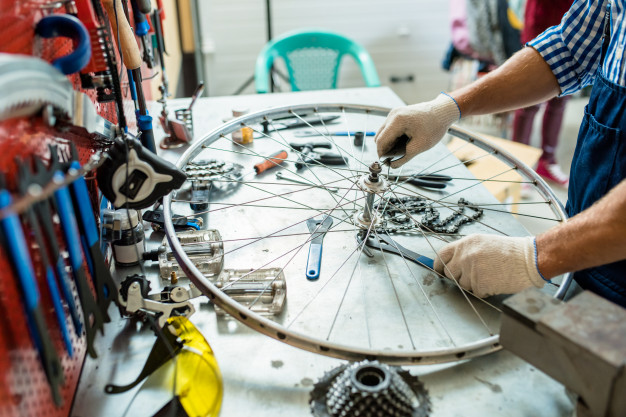
9: Install the tube back inside the tire
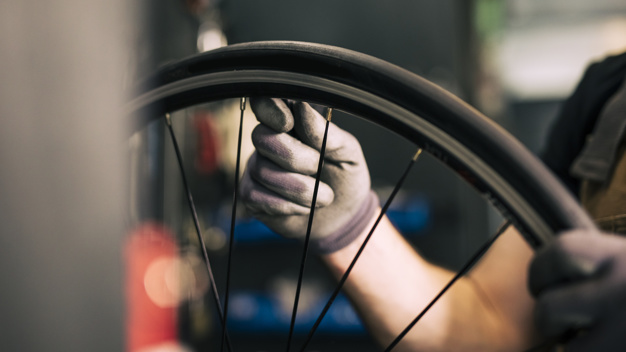
The start with the pipe stem, enter the tube back inside the tire. Be assured the pipe stem is joined accurately or else it could finish up being destroyed with later use. Manage the tire rubber back into the rim, assassinating one tire alloy at a time.
10: Adjust the tire inside your bike frame

Twist nuts back upon the axle and reconnect the brake cables. Be assured your tire is joined accurately and make sure that your brakes are operating excellently.
11: Pump up your current tire

The last step is pumping up your new tire and all done.
Tire stem is leaking air. What is the cost of replacement? Plus, is there a short temporary fix?
You can simply do it yourself. If it is only the lid inside the stem, then you require a very short time, energy, and cost to fix it. Utilizing a valve removal tool you can simply eliminate the valve, then applying a q-tip and many drugs like brake components cleanser or an alloy polish you can clean-up the valve stem itself. Then you buy some brand-new valves and sprinkle it while opened and closed with a door keylock oil (with Teflon) or rem oil spray (applied in gun keeping) and engage it to sit for a while to dry itself. Then reinsert the valve tightly (but not too tightly), and later begin installing air inside the tire at the wanted strength, Now leave it for 30 minutes and when you will return you instantly notice how your replacement worked.
It is possible now that you did it without any further leaks If it is yet leaking from the valve, then you have got one more difficult and require to go to a service station with the complete tire and rim parts to have them renew the complete valve stem parts, but do not forget to exchange out the new and old valve so it is not wasted for no purpose.
I did this personally several times over the decades on cars, trucks, tractors, motorcycles and even bicycles with excellent accomplishment. Just once did the valve stem have to be repaired, a several times the rim seat was rotting and required to be washed up, and some times the tire sidewall had some pinholes that you can not return (this last one was fixed by tubing the tire and rim parts after joining a thin patch on the center of the leaking wall(s), and old-school farmers skill).


